I’ve got a few suggestions for you.
 Being a food writer, avid reader and collector of cookbooks, I come across a wide assortment of food-focused books. Some are good. A few are awful. (Seriously, you don’t test your recipes?) Several end up being so spectacular that I add them to my eclectic collection of favorites. Such is the case with the following books. Great to give or receive, they would be fitting gifts for any foodie.
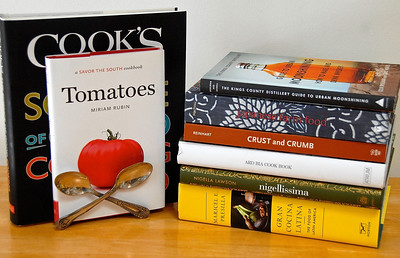
Ard Bia Cookbook by Aoibheann Mac Namara and Aoife Carrigy (Atrium, 2013)
Straight from Galway, Ireland comes a lovely, wholesome and tad exotic cookbook from the equally lovely, wholesome and tad exotic Ard Bia restaurant. Fitting for new as well as adventurous cooks, Ard Bia tempts readers with luscious photos, engaging anecdotes and fresh, creative recipes. Among the gems are smoked trout pate with caperberries and preserved lemon salsa, the easy, retro Ard Bia Mess, and chickpea pancake with spinach and feta, romesco sauce and tabouleh. With Ard Bia you’ll cook well and eat healthfully throughout the year.
Cook’s Illustrated The Science of Good Cooking by the Editors of America’s Test Kitchen (Cook’s Illustrated, 2012)
In The Science of Good Cooking readers learn how mastering 50 basic culinary concepts, such as “slow heating makes meat tender” and “a covered pot does not need liquid,” will improve their cooking and enhance their enjoyment of time spent in the kitchen. Featuring over 400 recipes and the science behind each technique, this is an invaluable book for any home cook.
Japanese Farm Food by Nancy Singleton Hachisu (Andrew McMeel, 2012)
Part memoir of an American cook living on a Japanese farm, part Japanese cookbook, Japanese Farm Food will charm both readers and cooks. As a cooking instructor, Slow Food movement leader and wife of a Japanese farmer, Hachisu imparts her immense knowledge of Japanese ingredients and cooking techniques with ease. Her recipes, including tofu and vegetable croquettes, egg custard squares with crab and spinach and steamed buns stuffed with azuki paste, are approachable, executable and delicious. Her cookbook is likewise beautiful and engaging. Definitely worth a read!
Nigellissima by Nigella Lawson (Clarkson Potter, 2013)
I’m a sucker for Nigella Lawson’s cookbooks. Smart, witty and lavishly produced, they always contain at least a half dozen recipes that become staples in my kitchen. Lawson’s fresh take on Italian cuisine is no different. Nigellissima provides a fun romp through 100-plus familiar and not-so-familiar Italian specialties.
Jerusalem by Yotam Ottolenghi and Sami Tamimi (Ten Speed Press, 2012)
Jerusalem made the ‘Great Books for Cooks’ list last year. I loved it so much that I’ve put it on the list again for 2013. For a review, click here.
Gran Cocina Latina by Maricel E. Presilla (Norton, 2012)
Winner of the 2013 James Beard Foundation’s Cookbook of the Year award, Gran Cocina Latina ranks as one of the most comprehensive cookbooks that I’ve ever used. At over 900 pages long this weighty tome covers the varied cuisines of Latin America and the Spanish-speaking Caribbean. Along with providing historical and cultural references, the book contains over 500 straightforward recipes and anecdotes for each dish. It also includes lush color photos, pairing suggestions and serving tips. Whether you crave a memorable tamale or just want to learn more about Latin American cuisine, Presilla’s detailed book is a must-have for your collection.
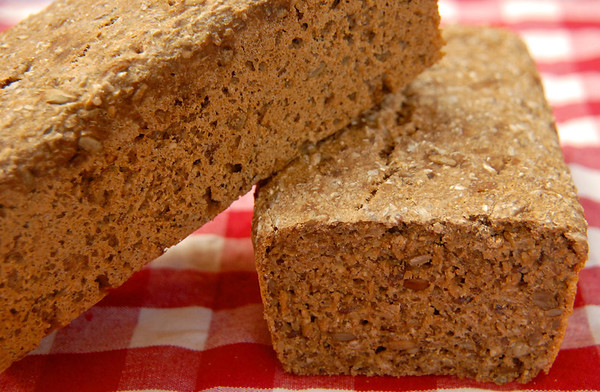
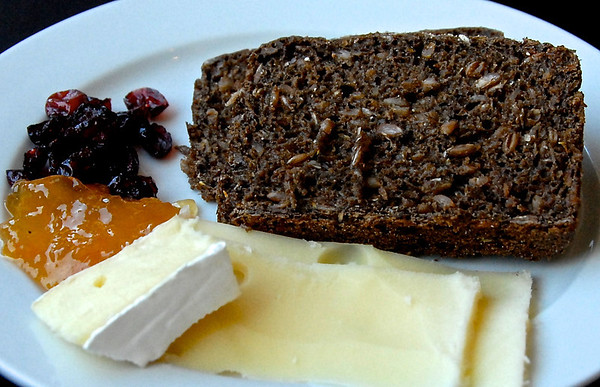
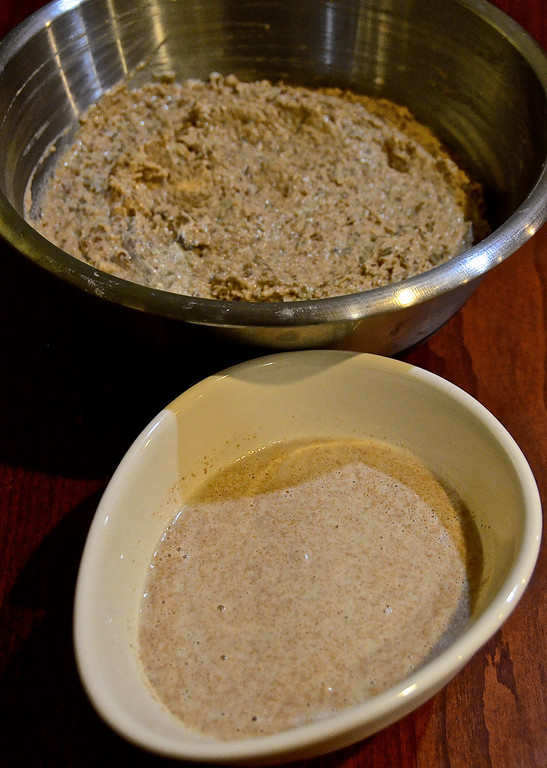
Crust and Crumb: Master Formulas for Serious Bread Bakers by Peter Reinhart (Ten Speed Press, 2006)
Baking enthusiasts will love Reinhart’s classic guide to making extraordinary bread. Known as one of the world’s authorities on bread, baking instructor and multiple James Beard awards-winning author Reinhart shares his vast knowledge of leavened and unleavened doughs. Through clear, detailed steps he takes beginning as well as seasoned bakers through creating a starter and then kneading, shaping and baking bread. Through his approachable coverage of 50 master formulas, he enables readers to create everything from rustic and whole wheat breads to bagels, brioche and challah. Crust and Crumb should appeal to any baker.
Tomatoes by Miriam Rubin (University of North Carolina Press, 2013)
Part of the “Savor the South” cookbook series, Tomatoes is a delightful look at the South’s longstanding relationship with the tomato and how this fruit stars in a host of delectable recipes. Among the 50 specialties included are Baby Plum Tomato and Olive Tapenade, Curried Tomato Soup and Spiced Green Tomato Crumb Cake. Knowing that not every cook has a lush garden or access to top notch produce, Rubin includes recipes using canned as well as pink tomatoes. Engaging and well-written, this is yet another book that would be wonderful for readers and cooks.
The Kings County Distillery Guide to Urban Moonshining by Colin Spoelman and David Haskell (Abrams, 2013)
Although I will never make moonshine in my apartment or amass a collection of whiskeys for my next cocktail party, I did get a kick out of The Kings County Distillery Guide to Urban Moonshining. Written by the owners of NYC’s first post-prohibition distillery, this book provides a fascinating look at the history of American whiskey, its resurgence among the cocktail crowd and the rise in home distillers. For DIY’ers it’s a detailed guide to making your own whiskey. For budding bartenders it’s a handy whiskey-based cocktail guide. For people like me who love culinary history, it’s a great read.
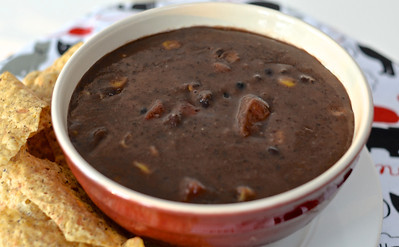
Fish Market by Kathy Hunt (Running Press, 2013)
Do I feel sheepish about putting my own book on this list? Of course I do. It’s shameless! And, yet, I don’t. I worked long and hard on Fish Market, wrote, tested and re-tested over 140 recipes and, ultimately, put out one heck of a seafood cookbook. Publisher’s Weekly, Weight Watcher’s and NPR’s Kitchen Table seem to agree. All have endorsed Fish Market. So, shameless or not, it’s on the list.
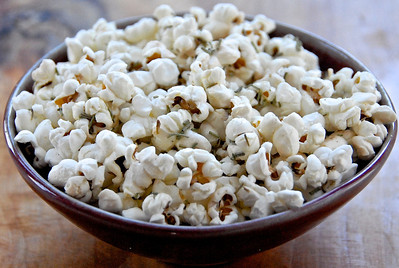 I know. What could be a simpler savory snack than popcorn? Other than pretzels, nuts and olives, not much. When I want to put out a bowl of popcorn and not have friends react with, “Gee, that’s all I rate? Kernels of dried corn?” I sprinkle some seasonings over top. In an instant the low key movie theater staple becomes gourmet noshings.
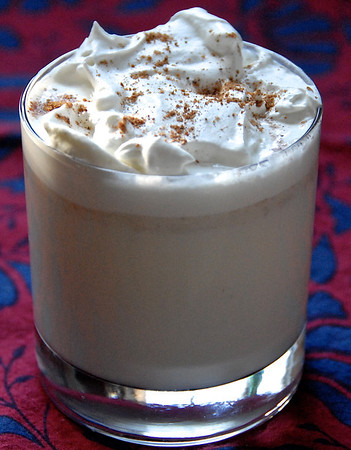 The latest East Coast snowstorm has left me craving a mug of good, steaming hot chocolate. It will come as no surprise that, as a person who grew up eating ‘Stove Top stuffing instead of potatoes,’ I have a long history with those white, paper packets of instant hot cocoa. Whether in my parents’ kitchen, on camping trips or at sporting events, on cold winter days I imbibed that thin, not-quite-chocolate-flavored and often lukewarm drink.
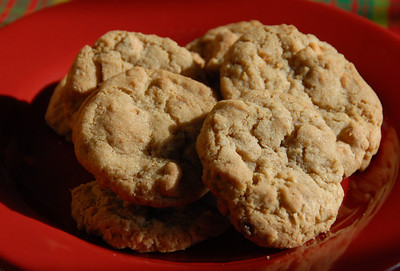

 This time of year, along with a surplus of apples, I usually have a refrigerator crammed full of apple cider. In my twenties I could blame this excess on my next-door-neighbors and their prolific orchard. Every fall they’d collect the grubbiest apples, take them to a cider mill and press bushel upon bushel into sweet, murky cider. What they didn’t freeze, they gave away to family, friends, colleagues and me. Although I ended up with more than I could ever consume, this distribution barely put a dent in their cider supply.
 When I do dig out a half-gallon container, I use the cider to jazz up pumpkin and butternut squash soups, quick breads and cookies. As of late, though, I’ve been spicing it up, boiling it down and churning it into ice cream.
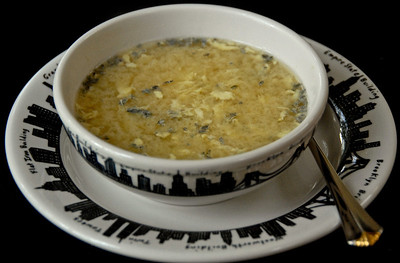 This Saturday I’ll be back on my home turf, speaking at the
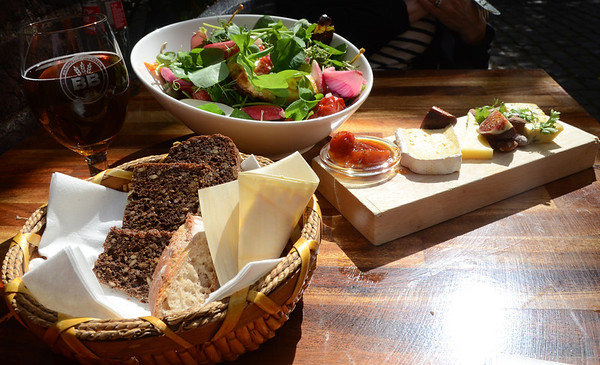
 When the invitations to oyster festivals start rolling in, I know that fall is here. Any diehard oyster fan will tell you that during the months of May through August these shellfish spawn, becoming watery and not terribly tasty. Hence the old rule of not eating oysters in a month without an “r” in its name. Once September kicks into full swing, these guys come back, ready to dazzle diners.
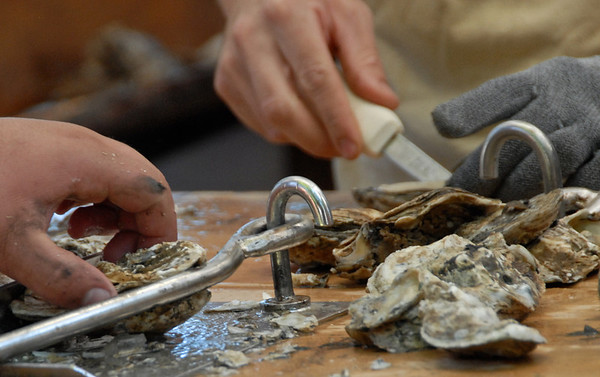
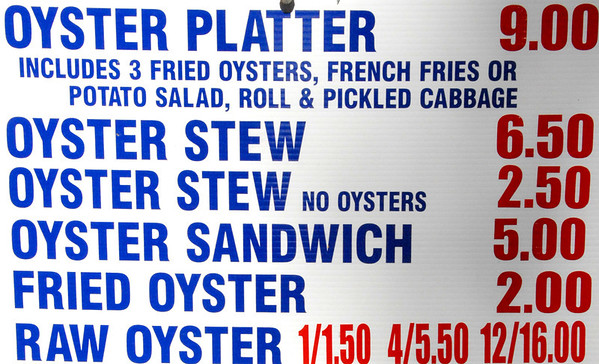 What should you do with a mound of live oysters? Like their bivalve brethren, they do well when baked, broiled, grilled, or steamed. They also can be poached, roasted, or sautéed. As evidenced by the event menu above, they’re quite popular when fried, made into a stew or consumed raw on the half shell. High in omega-three fatty acids and iron, they’re likewise low in calories and fat. Talk about a good treat!
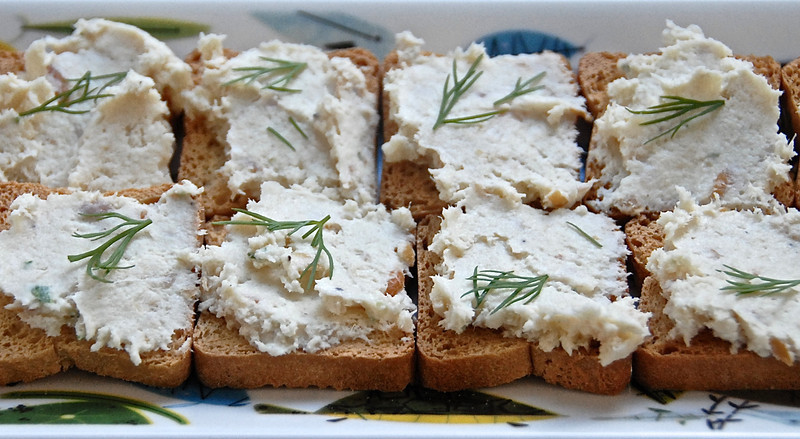
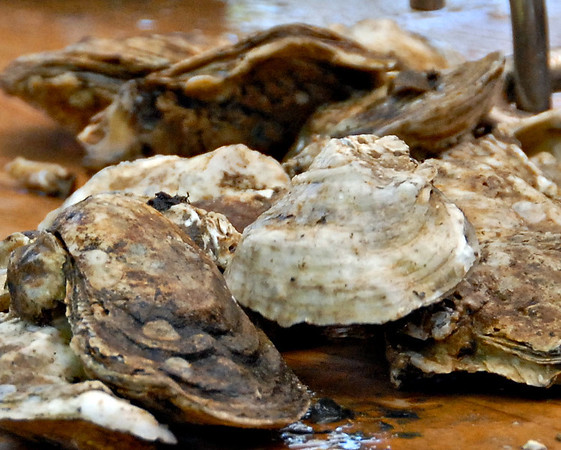 Being faced with counter covered in live oysters can be a bit intimidating. Recently I watched first-time shuckers clumsily pry open shell after sharp, jagged shell. Each time someone placed an oyster in the palm of one bare hand and a paring knife in the other, I imagined the imminent ER trip. If you don’t want to risk stabbing yourself or severing a finger, you can always buy pre-shucked oysters. Before taking them home, check to see that the liquid in their container appears clear. You can also find canned, frozen and smoked oysters in grocery, gourmet, and seafood stores.