Two weeks ago, as I cut and baked seven dozen fish-shaped, lemon sugar cookies for the Fish Market launch party, I thought of my late father and all the rolled, sugar cookies that we’d made together when I was a kid. Every Christmas and spring he’d pull out a large, aquamarine, Pyrex mixing bowl, wooden rolling pin and an eclectic collection of tin cookie cutters and spread these tools over the kitchen counter. This display of kitchen equipment could only mean one thing — we were about to kick off our biannual baking spree.
No matter the season I’d insist on using every cutter, which meant that we ate bunny- and shamrock-shaped cookies at Christmas and reindeer and Santa Claus cookies at Easter. Then again, by the time that I’d finished slathering the cookies with royal icing, colored sugars, chocolate morsels and candy sprinkles, no one could tell exactly what he was consuming. Unquestionably, my dad was a good sport when it came to cookie making and decorating.
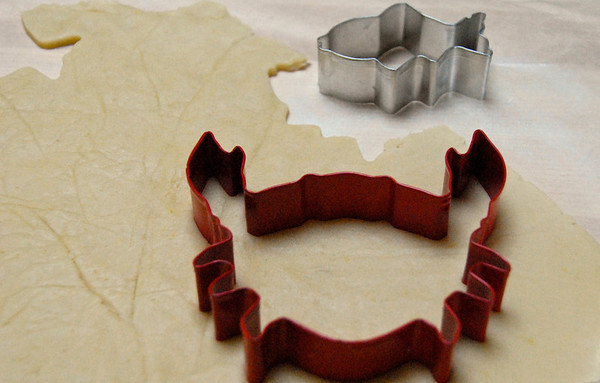
Cutting out fish and crab-shaped lemon sugar cookies
Then and now, the secret to cutting our cookies was to chill the dough before using. A cold dough is a less sticky dough and one that won’t adhere to the kitchen counter or cookie cutters. To this day I use the chilled dough trick.
Another handy, dough-related tip involves waxed paper. So that I don’t have to scrape dough from or liberally flour my rolling pin, I roll out the dough between two sheets of waxed paper. Leaving it between the sheets of paper, I refrigerate the rolled dough until cold, about 30 minutes, and then start cutting.
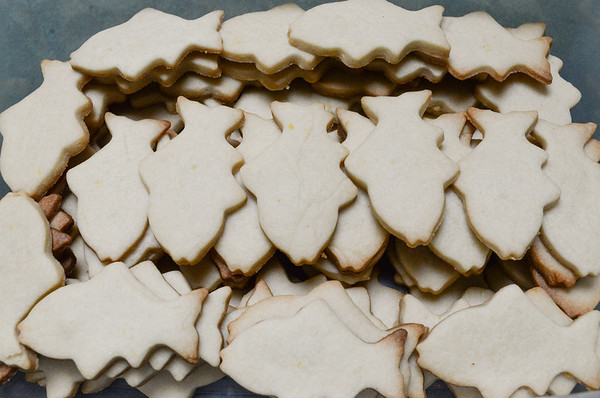
Fish cookies waiting to be iced
In light of Father’s Day, fish-shaped, lemon sugar cookies seem especially fitting for me to share this week. Unfortunately, the recipe that my father and I had used for our cookies was lost long ago. What follows has been adapted from The Joy of Cooking (Rombauer et al, 1997)’s sugar cookie recipe.
LEMON SUGAR COOKIES
Feel free to use any 2- to 3-inch cookie cutter for your cookies.
Makes 3 1/2 dozen
for the dough:
3 1/4 cups all-purpose flour
1 1/2 teaspoons baking powder
1/2 teaspoon salt
2 1/2 sticks unsalted butter, at room temperature
1 cup plus 1 tablespoon granulated sugar
1 large egg
1 tablespoon skim milk
1/4 to 1/2 teaspoon lemon oil
2 teaspoons vanilla extract
Grated zest of 1 lemon
for the icing:
2 2/3 cups confectioner’s sugar plus more as needed, sifted
Juice of two lemons, strained
1 teaspoon light corn syrup
1/8 teaspoon vanilla extract
Preheat the oven to 375 degrees Fahrenheit. Grease two cookie sheets and set aside.
Whisk together the flour, baking powder and salt. In a separate bowl using an electric mixer, beat together the butter and sugar until fluffy. Scrape down the sides of the bowl and then add the egg, milk, vanilla, lemon oil and zest. Beat until well-combined. Scrape down the sides of the bowl again. Add the flour mixture, mix on low until incorporated and then beat until smooth.
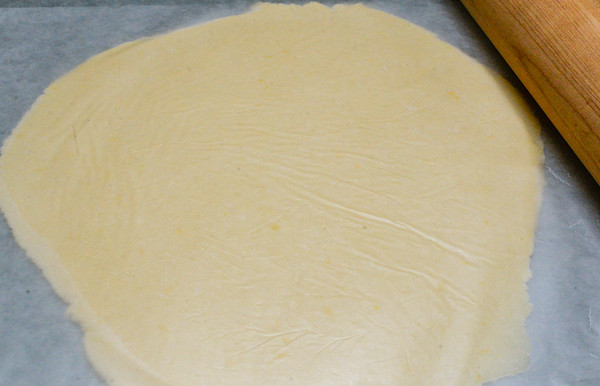
Dough rolled out between sheets of wax paper
Divide the dough in half. Place each half on a large sheet of waxed paper and cover with another sheet of waxed paper. Roll out the dough until 1/4-inch thick. Lay each piece of dough on a tray and refrigerate for 30 minutes or until cold and slightly firm.
Take one sheet of dough from the refrigerator, remove the top layer of waxed paper and, using cookie cutters, cut out the cookies. Using a spatula, move the cookies from the waxed paper to the greased baking sheets. Collect any leftover dough scraps, form them into a ball, cover the ball with clean waxed paper and then roll out and refrigerate it. Remove the other layer of dough from the refrigerator and repeat the above steps until all the dough has been used.
Bake the cookies until golden in color, 6 to 9 minutes, rotating the sheets halfway through the baking time; this will ensure even browning. Transfer the baking sheets to wire racks and allow the cookies to cool for a few minutes. Remove the cookies from the sheets and cool completely before icing.
To make the icing, stir together the confectioner’s sugar, lemon juice, corn syrup and vanilla until all the lumps are gone. If the icing appears too loose, add more confectioner’s sugar until the desired consistency is reached. Using a frosting or butter knife, spread the icing over the tops of the cookies. Return them to the wire racks and let the icing harden; this will take several hours. You can store the cookies in layers separated by wax paper and in airtight containers for two weeks or freeze for two months.
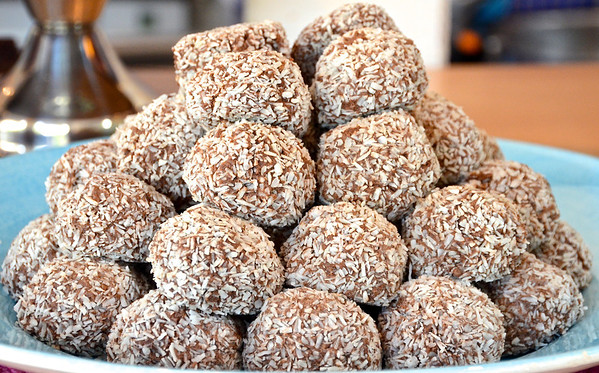 Six years ago, while visiting a friend in Stockholm, Sweden I tried my first chokladbollar. Rich, chocolatey and with the pleasing chewiness of oats and coconut, this unusual sweet lingered on my mind for months. The next time that I went to Sweden, I tracked down not only the confection but also — and more importantly — a recipe for it.
 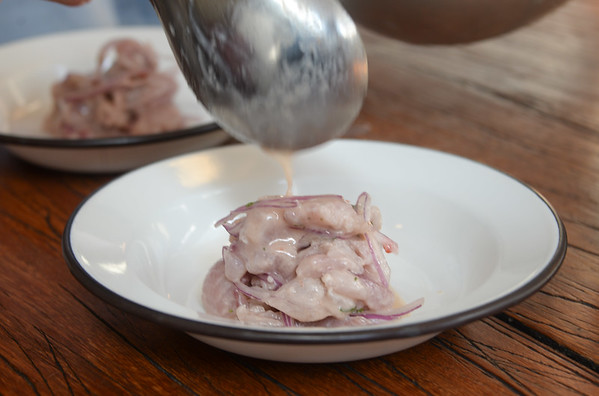 Two weeks ago I turned up in Southern Sweden where one of the first things that I looked for, besides a hotel room, was a coconut-dusted chocolate ball. Turns out that I was in the right place, at least when it came to chokladbollar. Cafes, coffee shops and even bakeries carry this Scandinavian specialty.
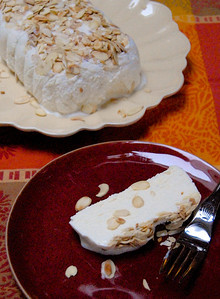 Ask me to name only three fantastic things about summer and I’d have to pick long days, fun getaways and cold foods. Right now I’m hooked on a chilled sweet that I first tried on a sunny, summer holiday in Italy almost a decade ago. Nope, it’s not icy granita, although, on a sultry afternoon, those sugary shards of ice are quite a treat. Instead, semifreddos are what have captured my heart and my spoon.
  Whether you belong to a community garden. shop at farm stands and farmers’ markets or tend your own vegetable patch, right now you’re undoubtedly enjoying some of the best of summer’s bounty. Ripe, luscious tomatoes. Crisp, juicy cucumbers. Cool mint and mildly peppery parsley.


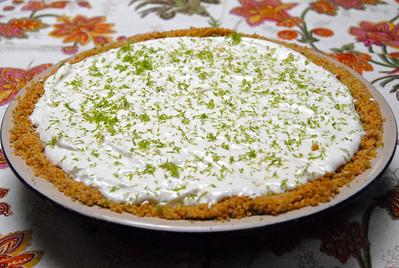 I’m not a fan of conflict. Ditto for controversy. Yet, in spite of this I’ve become embroiled in a battle to end all battles. No doubt, like most skirmishes, this one began harmlessly enough. Two weeks ago a friend, “Apple Jane,” made a key lime pie, brought it over to our place and served it for dessert. It was a nice, generous gesture but one that kicked off a hot dispute.
  Although it’s been a whirlwind of a week, I couldn’t let Mother’s Day pass by without sharing a recipe in honor of my late mother and all the other hardworking moms around the globe.
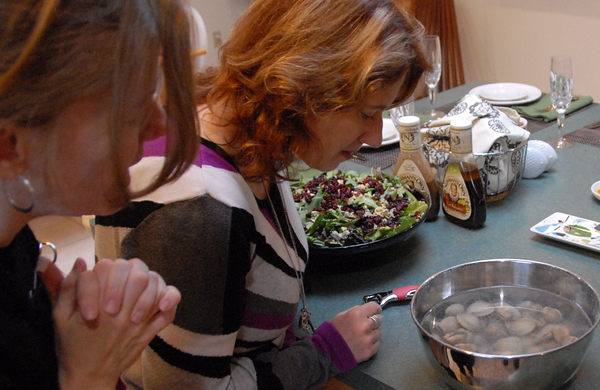
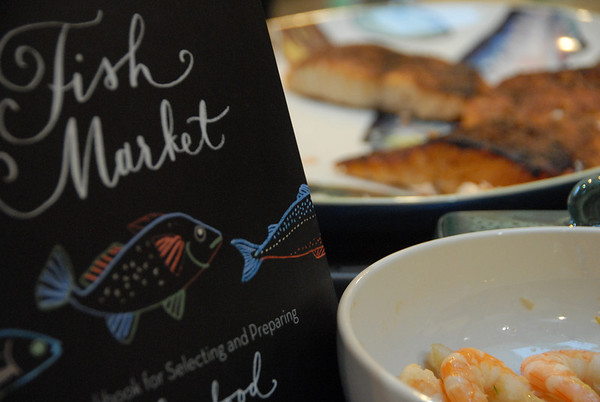
  Over the past few weeks I’ve been inviting friends over for a series of “Pretend You’re at Williams-Sonoma Sampling Food” nights. On these evenings I ply them with recipes from my cookbook Fish Market in an attempt to see which dishes appeal to even the most apathetic seafood eaters. Unequivocally, they have gone for sardine spread. Considering how many had initially voiced their distaste for this small, iridescent fish, I’m both surprised and pleased by the discovery.